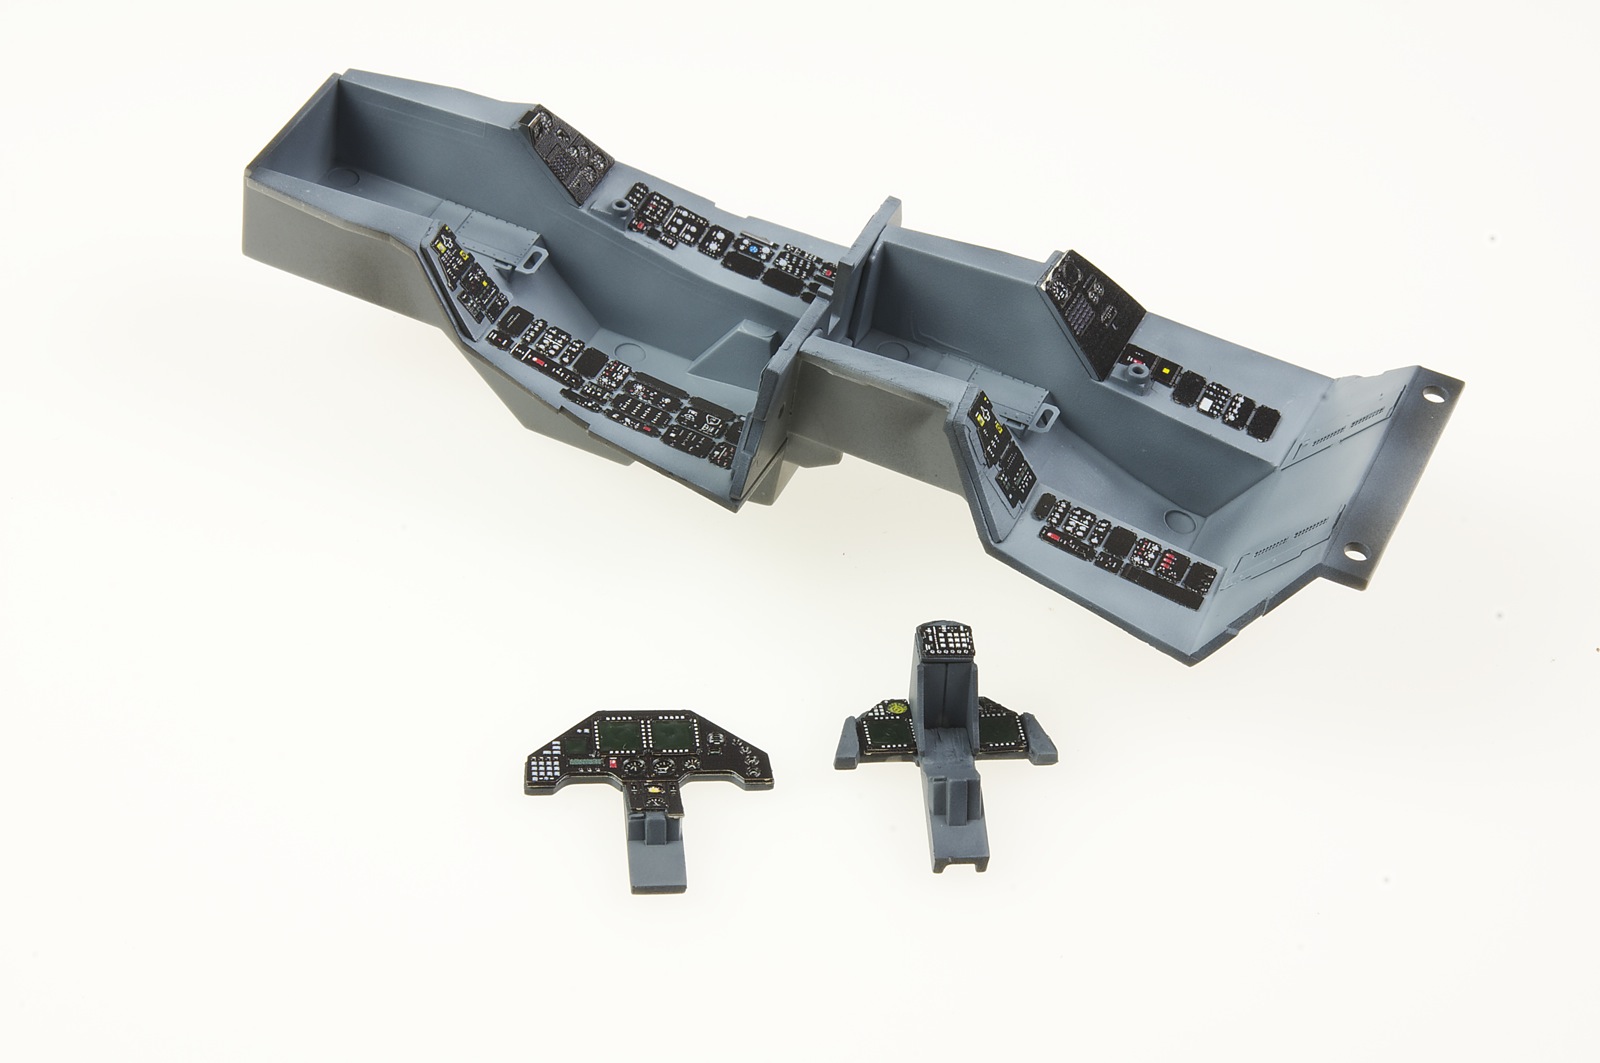
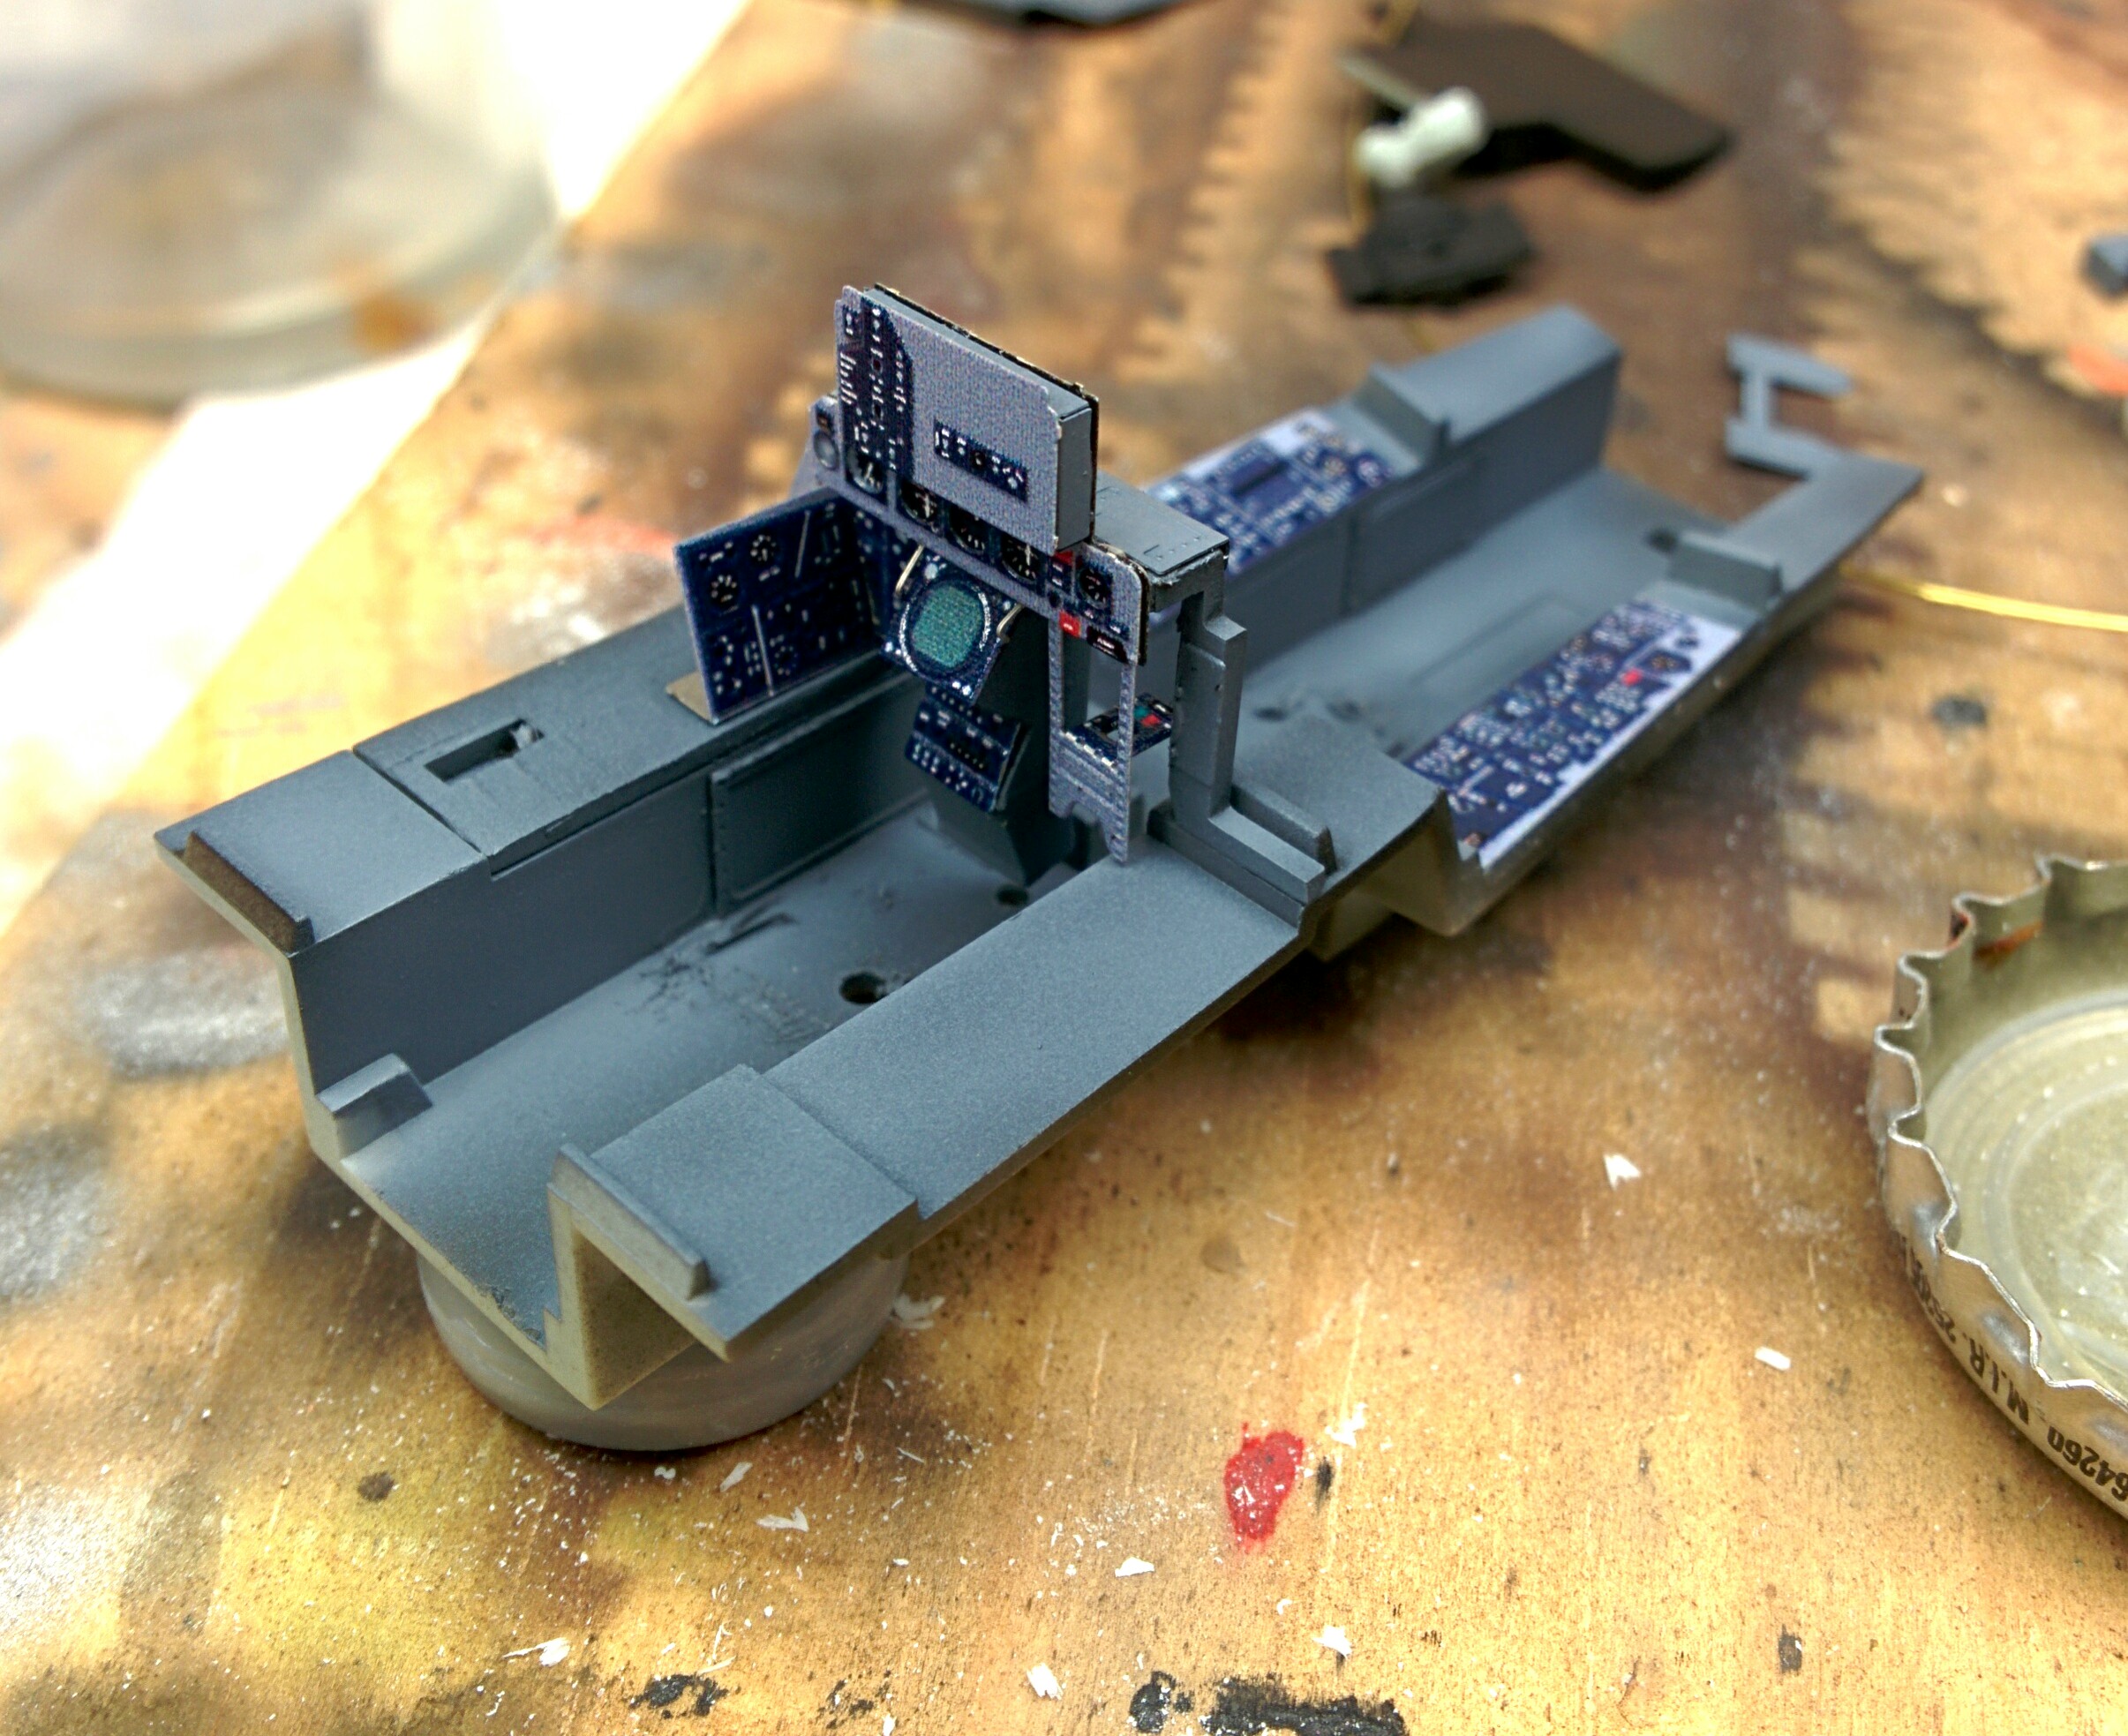
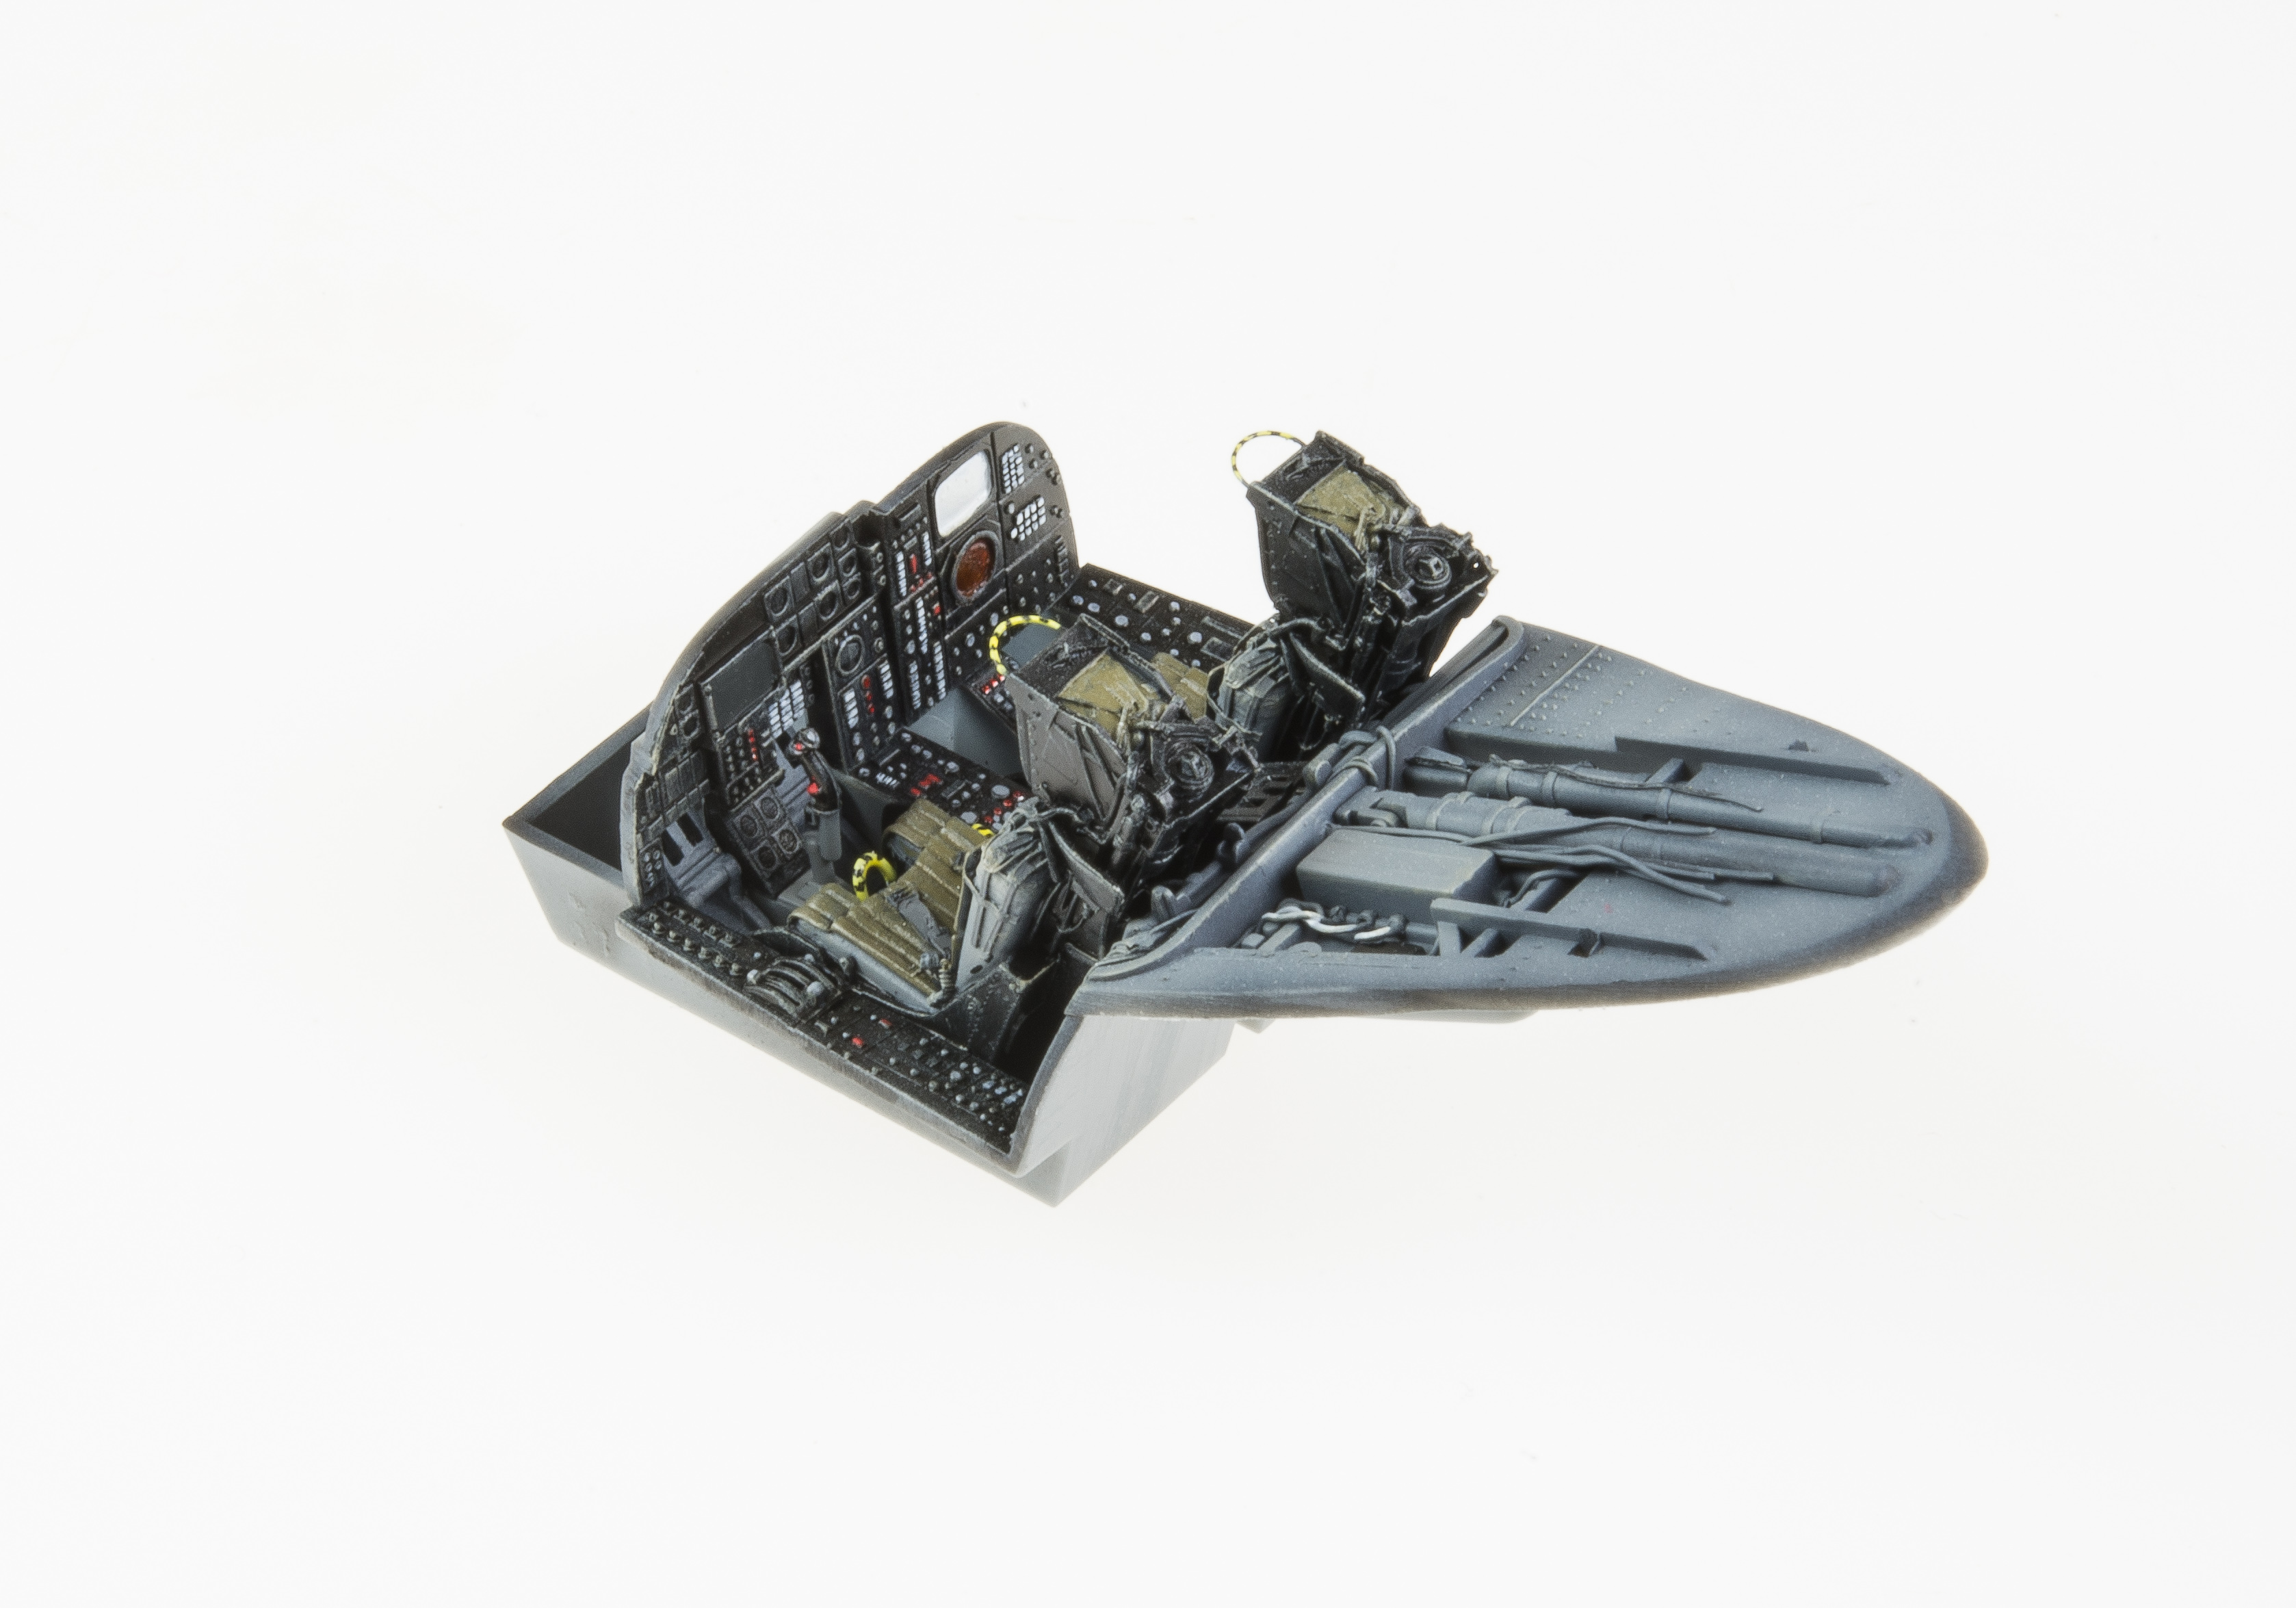
I’ve been in a decal state of mind lately. In part because I’m neck deep in the decal stage on my F-104, and in part because of some, let’s say heated discussion about the quality or lack thereof of certain decals.
Perhaps more than any other aspect of modeling, decals seem prone to disclaimers of your mileage may vary. Tamiya decals may work fine for one person, and terribly for another. One decal sheet may respond very well to Micro-Sol, while another’s decals shatter under the stuff. But try Solvaset or Mr. Mark Softer or some other option, and you get the opposite reaction. Some decals need very warm water to work, others don’t care, and still others fall apart in the increased temperatures. Even on the same decal sheet, major markings may perform wonderfully, while stencils may be prone to silvering despite all attempts at prevention.
The Combat Workshop asks an interesting question for the first Sprue Cutters’ Union of 2016:
At what point of the build do you tend to stall?
Well, shit. That’s not really an easy question for me to answer, since it tends to bounce around depending on what I’m building. So…I can potentially stall out at multiple points. Which is a huge part of why my completion rate was 25% last year.
I did something yesterday, and it's still eating at me. I came across a build. Not a good build at all. The paint job was your typical "hairy stick" special.…
Ever since I posted about Black Basing a year and a half ago, I've wanted to follow it up with a better, improved version. And since I'm making the foray…
And came across my big, unwieldy bottle of Future. What to do about it? Well…
When I posted this over on the Facebook page, it elicited some cheers, some laughs, some “but…why?!?” comments. As well as questions over what I use instead. And that little blog post idea light bulb started blinking above my head. So here we are.
But…why?!?
TL;DR version if you want to skip to the next section – Future is inconsistent in performance and therefore not to be trusted.(more…)
Recently, I was testing out a few new metallics, trying to sort out what exactly I want to use on the F-104. In that test, I came away rather impressed…
Recently, some well meaning commenters have intimated that I am some kind of aspiring modeling dictator, telling everyone else what and how to model.
While nothing could be further from the truth (I will tell you what and how I think you should model), it got me thinking. If I was some kind of scale modeling il duce, what would I do with that bizarrely niche power?
I sure wouldn’t tell people how to pursue their particular flavor of the hobby. Instead, I’d level my proclamations at those make the kits and paints and yes, the aftermarket sets. Because there’s a whole lot of bullshit that you, me, and a whole lot of other modelers put up with that we simply shouldn’t have to. Not in this day and age.
Let’s start with cockpit sets.
Aftermarket Cockpit Sets are the Worst
With a few weird exceptions, aftermarket cockpit sets come in two flavors – resin and photo etch. The former is generally a total replacement for the kit plastic, while the latter is often employed more as an applique over the kit parts.
Resin
Resin’s big advantage is DETAIL, particularly detail in terms of texture, depth and complexity. Now that CAD and 3D printing are finding their way into the hobby, the amount of detail that resin sets can pull off is truly staggering.
The simple addition of a good resin seat can take even an out-of-the-box cockpit to the next level
Resin’s big disadvantage? That’s easy – FIT. Seats are one thing. But when we’re talking about full-on cockpit sets, the odds of them being drop-fit replacements for kit parts is almost zero. This leads to lots of sanding and test-fitting and swearing and – at least for me – is probably the most likely way to get me to shove a kit back into its box and move on to something different.
Lovely detail, but…ugh
I can hear it now.
“But…some modeling skill required!”
Screw modeling skill. If I’m going to be paying top dollar for an aftermarket pit, the damn thing should fit. Without having to hack the kit to pieces to do so.
Photo Etch
Photo etch’s biggest advantage is in recreating scale thickness. A great example is this lovely gunsight frame for Trumpeter’s 1/32 P-47:
It’s also got its uses for representing fine details – cockpit sills, instrument panel bezels and so on. But a lot of the PE on offer these days is the colored, console-detail variety.
Over the years, I’ve come to loathe color PE. It has this weird ability to look really great on the fret, and then go completely flat, limp, and fake-looking when you put it into your cockpit.
So pretty…So awful
Part of the problem is that PE sucks at representing depth. The other part is that the color PE is often either off-color, grainy, or both.
Just…no.
A lot of times, Eduard (and others…but let’s face it…they’re the 800-lb gorilla here) will even oblige you to file off kit detail to install the PE, leaving you up a creek when you look on with horror at your shitty PE side consoles.
Even decent PE still looks depressingly flat
In my quest to avoid the fit issues of resin, and the color-matching and flatness issues of PE, I’ve increasingly been doing my damnedest to bring kit parts up to snuff, and use resin seats and other bits to goose the detail level.
But I would so much prefer to have the delicious detail of resin and/or photo etch, since for the most part kit cockpits aren’t the best.
Building a Better Aftermarket Cockpit
So, as modeling dictator, here’s what I would order on pain of death: (more…)