Very Few Actual Aircraft
Over on my recent Inflection Points video, Kyle Keller dropped a comment that I wanted to respond to: Just remember friends it is a hobby that is supposed to be…

Over on my recent Inflection Points video, Kyle Keller dropped a comment that I wanted to respond to: Just remember friends it is a hobby that is supposed to be…

With the Kingfisher out of the running for my upcoming magazine build, I’ve had to cast around for another suitable subject. The only real requirement is that the subject be painted in the tricolor camoflage worn by US Navy and Marine aircraft in World War II.
I’m hesitant to pull out HK’s B-25 for a PBJ-ification. Warmer weather is coming, and with it, the spiders that always cause havoc at the bench. My last go-round at an HK B-25 was delayed because the damn things kept building webs in the bomb bay. I also considered Tamiya’s F4U-1A Corsair, but they’ve kinda been done to death for the moment.
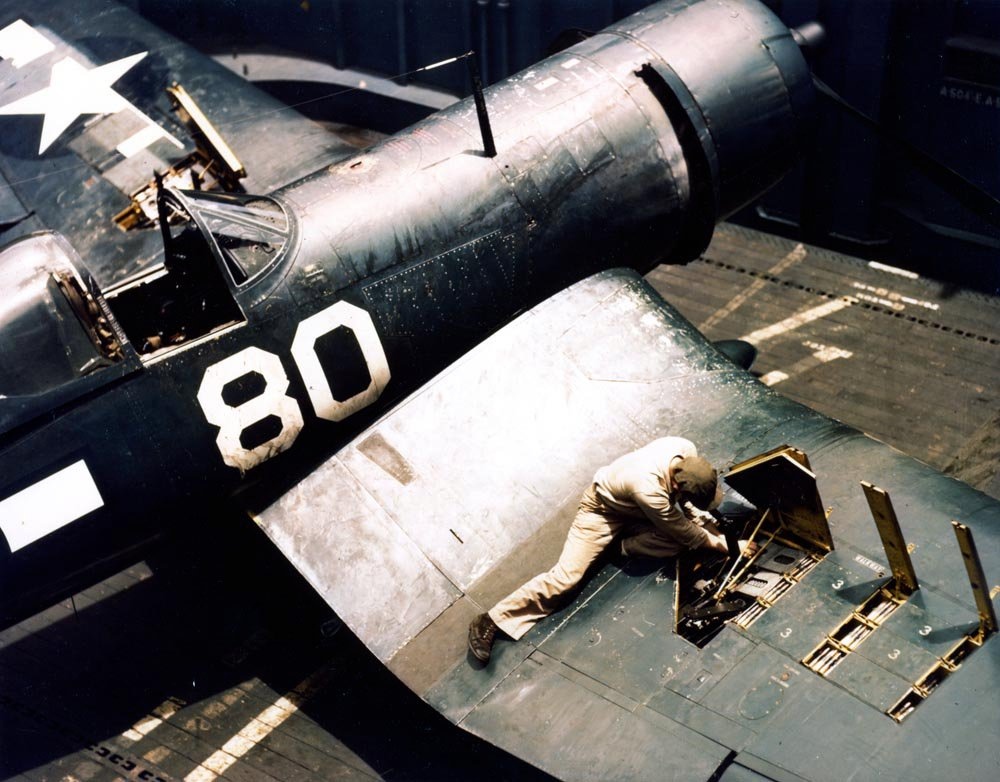
Then I had a thought. How about a Dauntless? Trumpeter makes a good kit. It’s one you don’t see built all that often, and when it is, it’s almost inevitably an earlier SBD-3 dressed up for Coral Sea, Midway or Guadalcanal. Which I totally get. In terms of historical impact, 1942 was the Dauntless’ year.
But…the SBD-5 was built in larger numbers than any other variant, and performed a workhorse role in the long slog to drive the Japanese back to their home islands. It has a quieter but still significant story.
Before I embark on the build (or even choose which markings I want to go with), I thought it’d be an interesting exercise to look at some examples of the SBD-5 in action, and note some interesting painting and weathering characteristics.
At work, everyone wants to own their little slice of “strategy”, to the point where the term itself has become – I won’t say meaningless – but certainly confused.
Over the past week, I’ve been on vacation. Away from the bench and largely away from the computer. I’ve done more following and reading than I have ranting…and I’ve had some time to think, if that’s what you call the random firing of synapses after long days of taking three kids around Disney World.
And it seems to me that a lot of the butthurt and fur-raising associated with weathering is similar – the term is too broad, too catch-all.
It confuses evidence and reference with technique. It conflates different types of weathering. And it sets up this weird and annoying “nobody is wrong” dynamic that, ultimately, does nothing for anybody.
If that’s the case, why bother talking and debating and digging up reference photos and seeking greater understanding at all?
So I thought it might be helpful to propose some new terminology to specify what we’re talking about. Which will no doubt raise the typical claims that I’m telling others how and what to model. A common, specific terminology – so evil, right? (more…)

My recent rant against egregious panel line shading has drawn quite a hefty response. Plenty of voices of support...and of butthurt and defensiveness. A few who have mistaken the entire…

So this is the post where I get to shit all over other people’s builds!
Not really. Or at least, that is not my intent.
My intent is to talk about shading panel lines (mainly pre-shading, but also post-shading), and why – if you’re pursuing a realistic or verisimilitudinous finish, it’s a terrible technique that should be shunned and mocked.
Since there as been some confusion since I first posted this, let me elaborate on a few things.
First, let me say that pre-shading actually does some good. It gets modelers – including yours truly – thinking about paint in varying layers of opacity. For that reason alone, it’s often one of those game-changers that elevates people’s build quality, and I think that may be why so many stick with it so doggedly.
I mean, I get it. It’s contrast. And unrealistic, hyperbolic contrast is better than no contrast, right? Just look at the “house style” Hasegawa uses to show off their new kits. It’s utterly lacking in contrast or tonal variation. It’s…awful.

But for all the good panel line shading does, it’s bullshit. Here’s why.
It’s a ton of work. For any kit worth its salt, shading all those panel lines is an exercise in concentration and swearing.

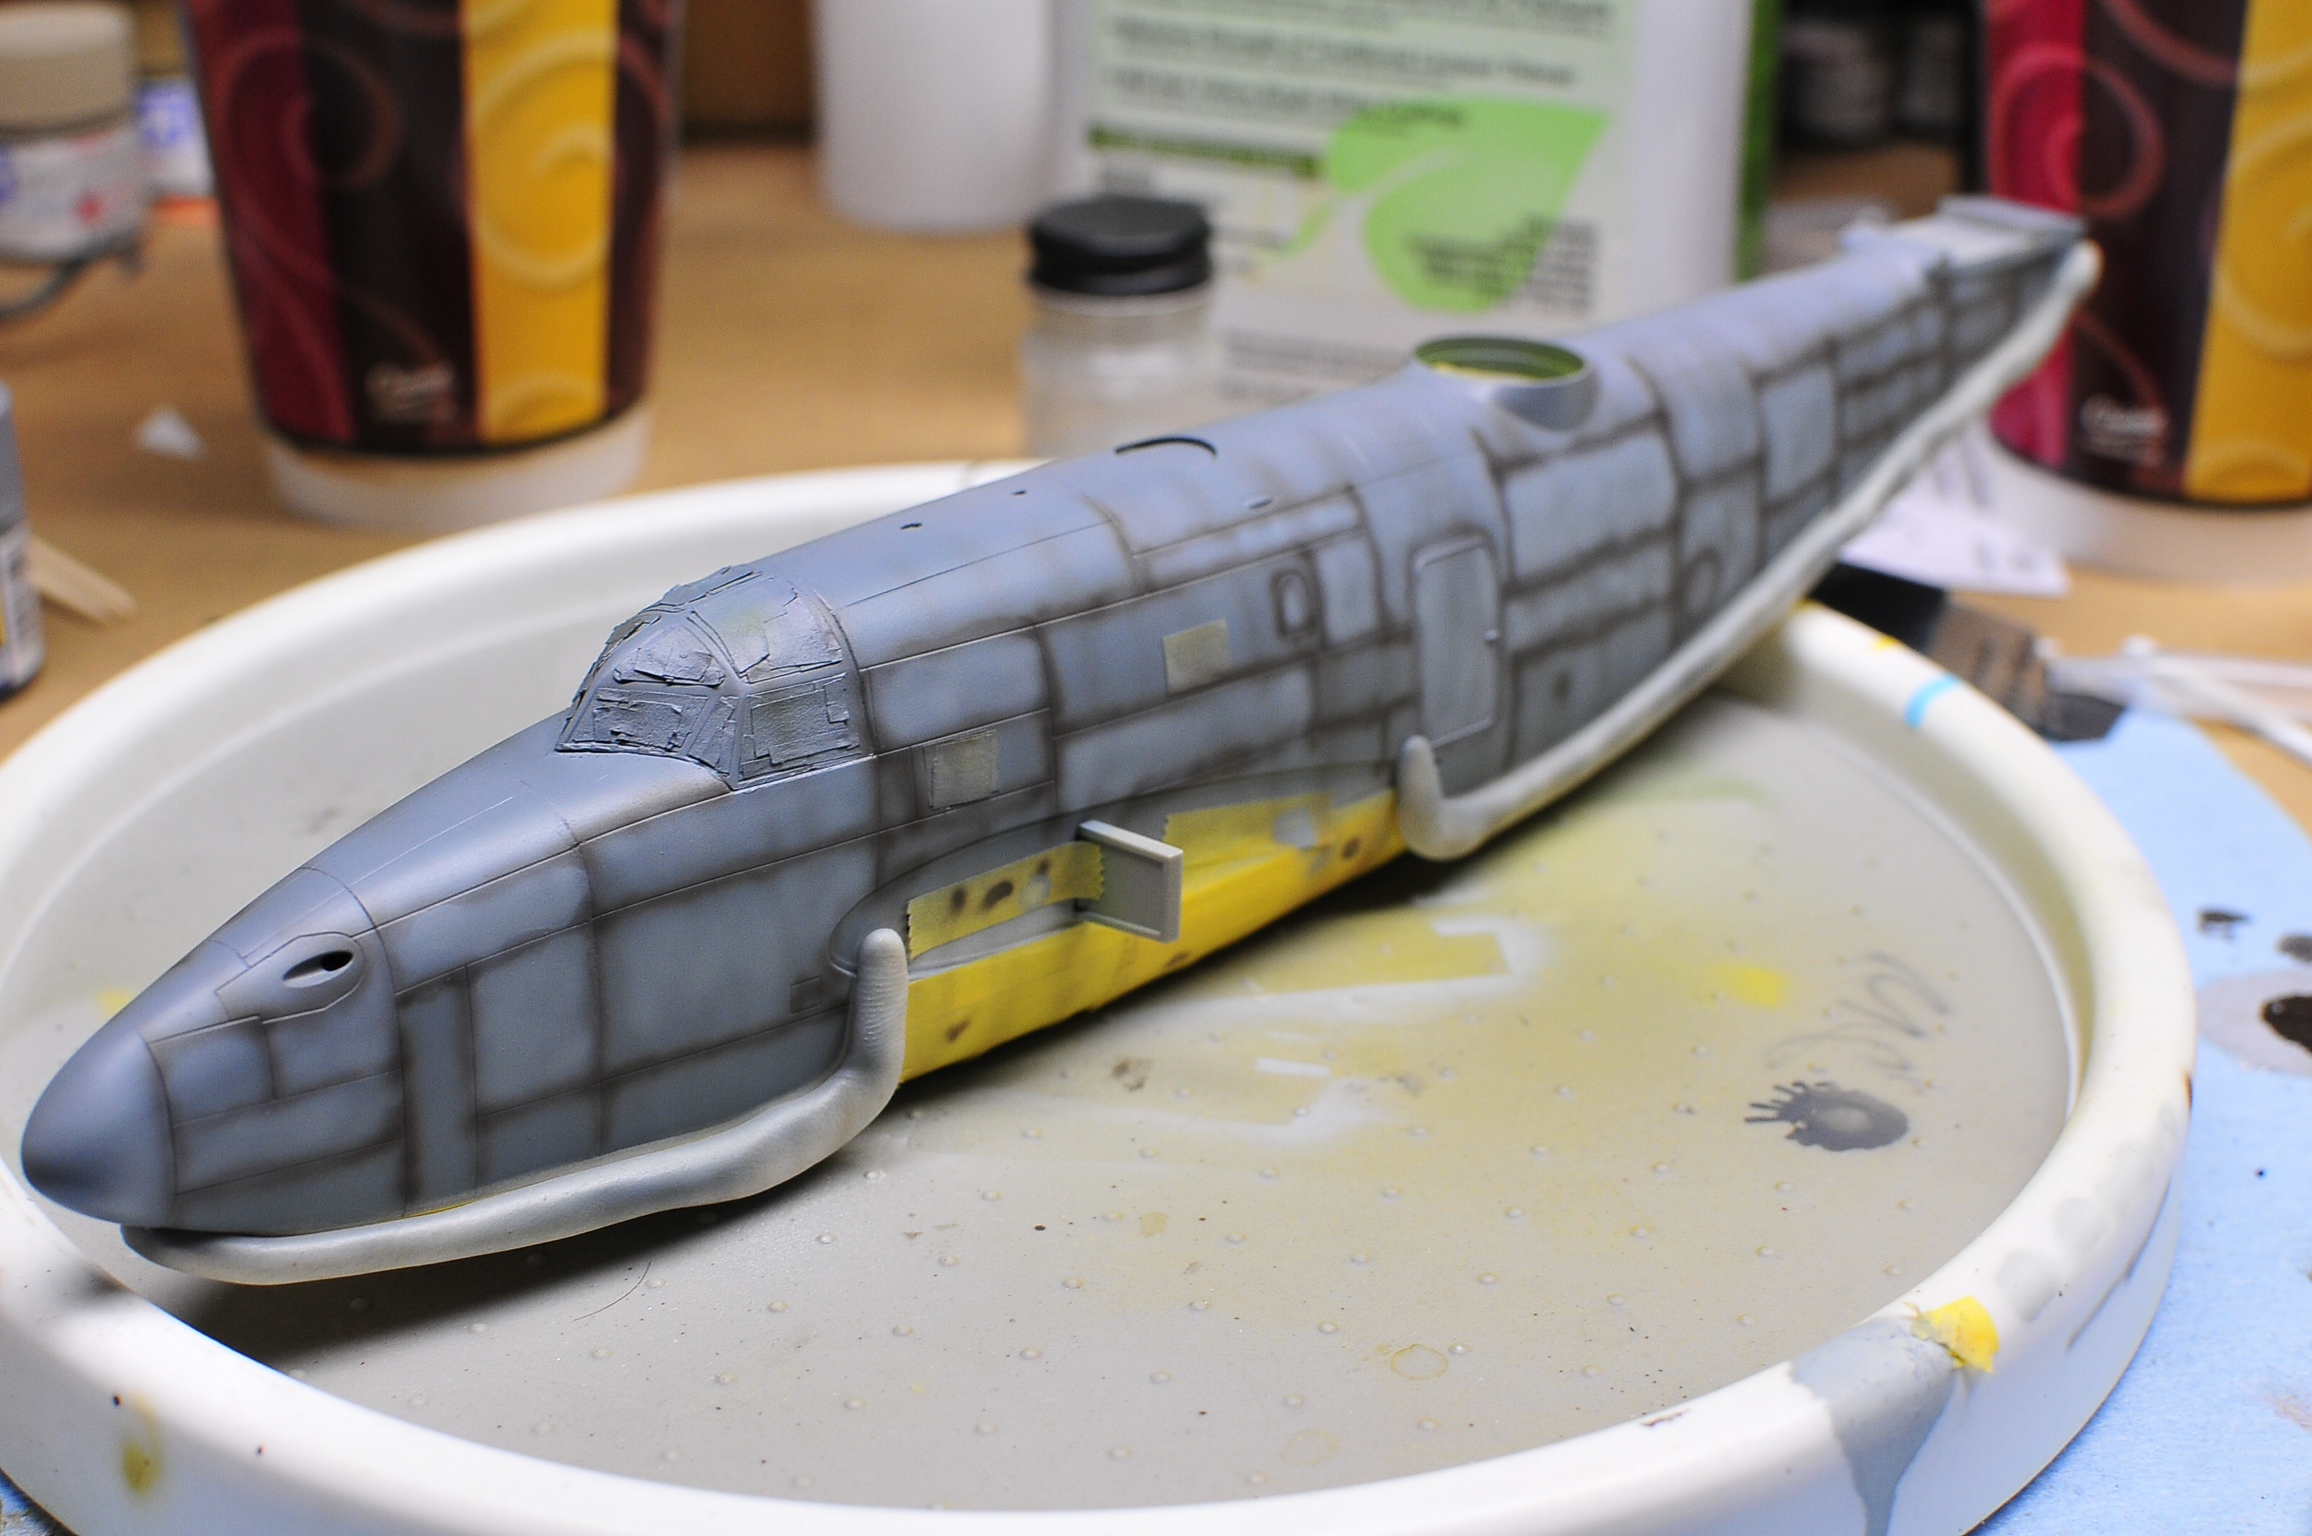
It’s unforgiving. Get a bit too happy with the airbrush and all that work is gone. Play it too cautious and you may have difficulties covering the gray primer or managing the contrast.

Third, it’s just not representative. Yes, the panel lines on some aircraft certainly do get filthy. But look closely. It’s never just the panel lines. And it’s very rarely all of the panel lines. The paint itself gets battered and dirty. Panel line pre-shading (and post-shading) totally misses this, and creates something that looks exaggerated and fake – like one of those overdone HDR images.
Note: I feel I should restate it here: if you’re going after a stylized representation, then by all means go to town. Just don’t make claims to verisimilitude. A Facebook commenter mentioned Monet, and I think that’s a fitting example! Monet was a great painter! But if he made claims impressionism was “realistic”, there would be a lot of laughing.
Look at this Spanish EF-18, for example.
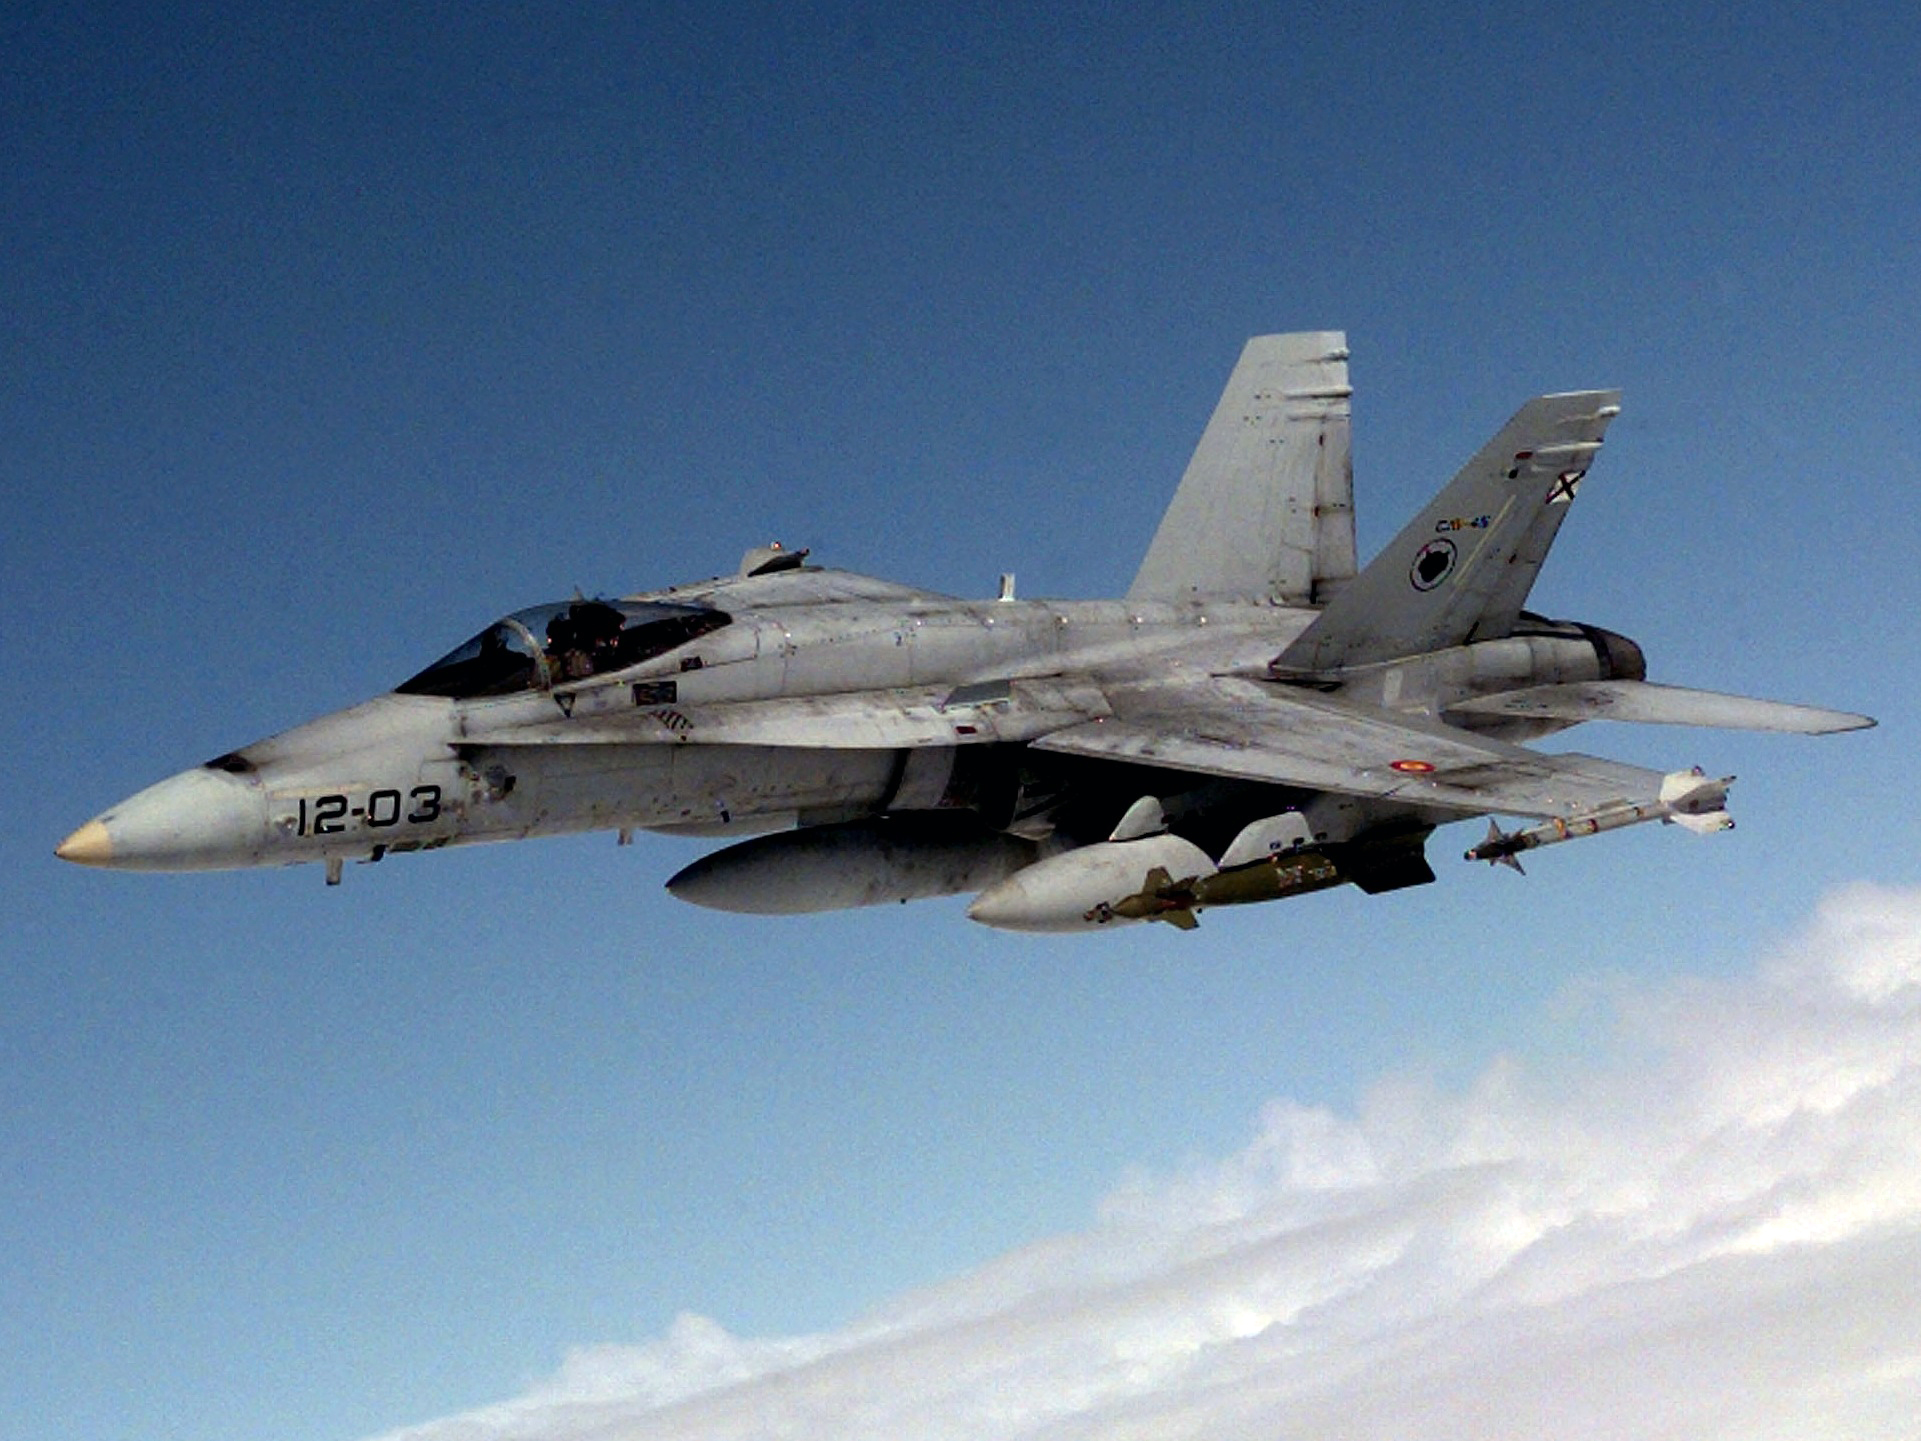
There are lots of visible panel lines…but they are not uniform. And the surfaces of the aircraft itself are filthy, especially around the wingroots.
Or consider this A-6 Intruder from Desert Storm. Plenty of visible panel lines, but they’re all fairly subtle, and there’s a lot else happening on the surface.

Now, I hate to speak ill of others’ work. And that is in no way my intent. But…I have to show examples of what I’m talking about. I’m not commenting at all on the quality of the build or even the rest of the paintwork, which in many of these examples is quite high indeed. I am only showing them to illustrate this technique/style of shading panel lines. If you’re getting upset reading this and want to get all defensive and butthurt about it, that’s okay. One of the examples I’m going to show won at the IPMS Nationals this year, so clearly there is some subjectivity at work. (more…)

After the painting (LINK) comes the fun part – the weathering!
Marine Corsairs weren’t exactly known for their cleanliness, and “Tojo Eats Shit” has to be one of the filthiest examples I’ve yet come across.
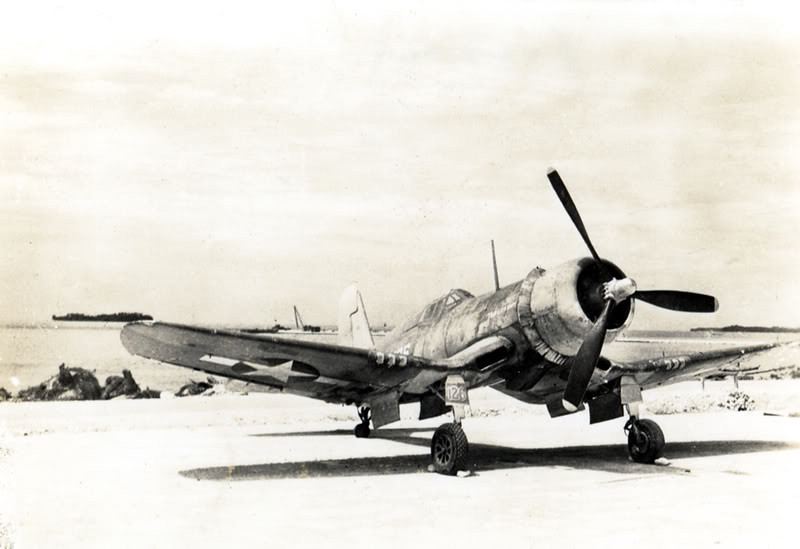
There are so many factors at play here. Fading. Chipping. Gun and exhaust stains. Coral dust. Oil stains. All in all, it adds up to one thing:
Tons of weathering.
Let’s get started.
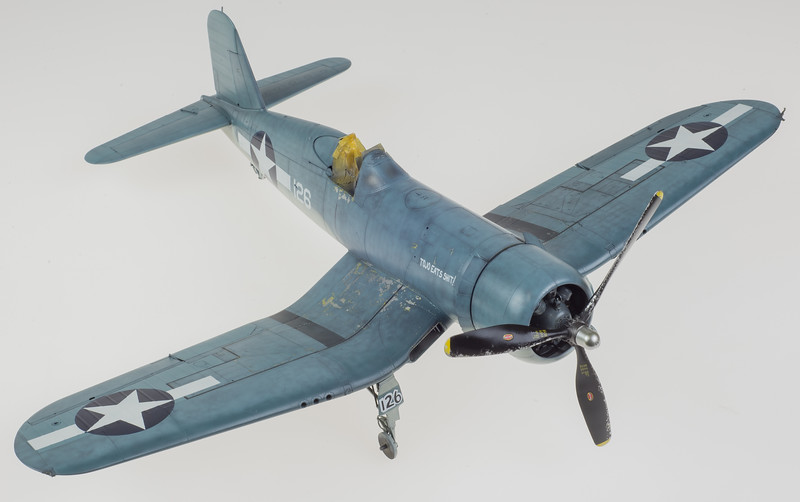
Coming out of paint, the Corsair is already pretty weathered up through a combination of multi-layer chipping (LINK) and using a black base to manage tonal variation (LINK). But there’s so much more that can be done.
(more…)

With each new build, I try to push myself outside of my comfort zone (RELATED: Where the Magic Happens) in at least one area. Test a technique. Try a new paint. Experiment a little.
But every so often, a build comes along that’s more than that. That kicks me into an entirely new level of modeling.
Tamiya’s 1/32 F4U-1 Corsair is definitely one of those builds.

This kit has been, hands down, the best I’ve ever touched. It makes other good kits look decent at best. I knew even before I started building it that I wanted to give it a paint job that would match the awesomeness of the kit. I actually procrastinated for some time, unsure how to approach what I had in mind, until some experimentation showed me the way. (more…)

I’ll straight-up admit it. I’ve been procrastinating on my big Tamiya F4U-1 Corsair. Oh, sure, part of it’s been working on other builds, but a bigger part has been sheer anxiety over how I’m going to paint the thing.
The problem is pretty basic, really. I have a pretty reliable painting process that puts a lot of variation into potentially monochrome schemes – a must for a worn, faded, battered Marine Corsair serving in the South Pacific. I also have a need to introduce some fairly aggressive chipping and worn paint effects – a need that my black-basing process doesn’t really make provisions for.
I knew hairspray or some other kind of chipping solution would play into the answer, but how, specifically?
I decided to do a little experimentation to sort that out. (more…)