
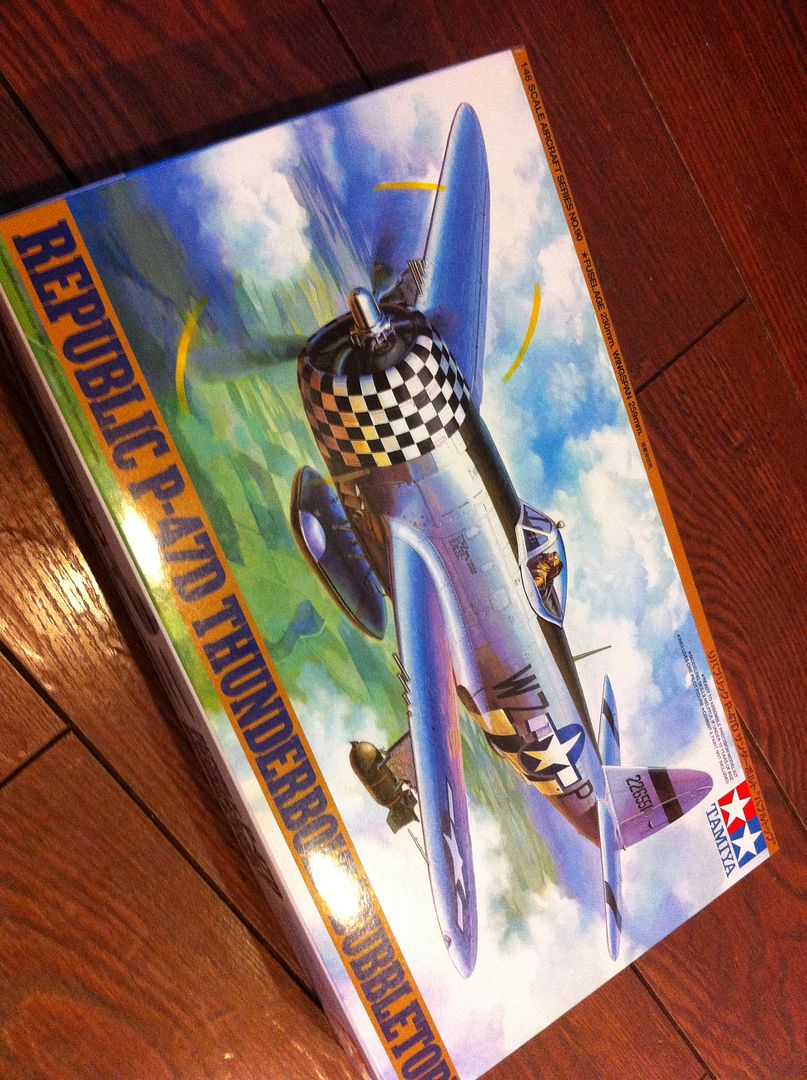
Tamiya’s P-47D Bubbletop is a honey of a kit.
Let’s just get that out there straightaway.
The venerable old Monogram kit is competent, and with the proper care builds up into a pretty good looking Jug. But the Tamiya kit plays at a whole different level. In my opinion, it’s only a notch shy of a masterpiece and THE definitive P-47 kit in 1/48 scale.
The Cockpit
Tamiya’s cockpit is full of win for two reasons.
First, the level of detail is fantastic, some of the best I’ve ever seen in a 1/48 kit. I know that there are a few resin cockpits out there, but honestly, there’s no point.
Second, the assembly is simple, assured, and pretty much foolproof. The main cockpit tub consists of four pieces – the floor and front bulkhead, the rear bulkhead, and the two sidewalls. These are all keyed so that they fit together and stay in place. It’s a little touch, but appreciated nonetheless.
The instrument panel is extremely well detailed, and the supplied instrument panel decal lays down perfectly, with excellent gauge detail. Again, no need to go aftermarket here.
Now, I did bring some aftermarket bits to bear on the cockpit – namely an Ultracast seat and Eduard placards (which helpfully included a PE throttle quadrant, one of the kit plastic’s few weak points).
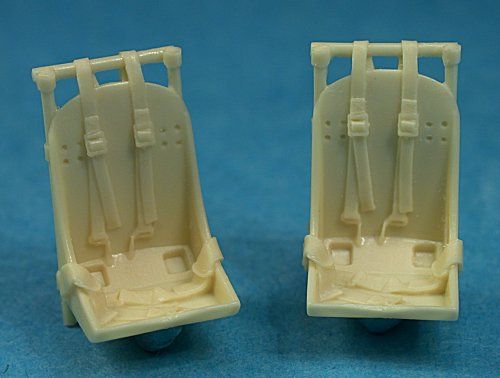
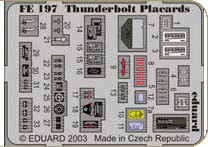
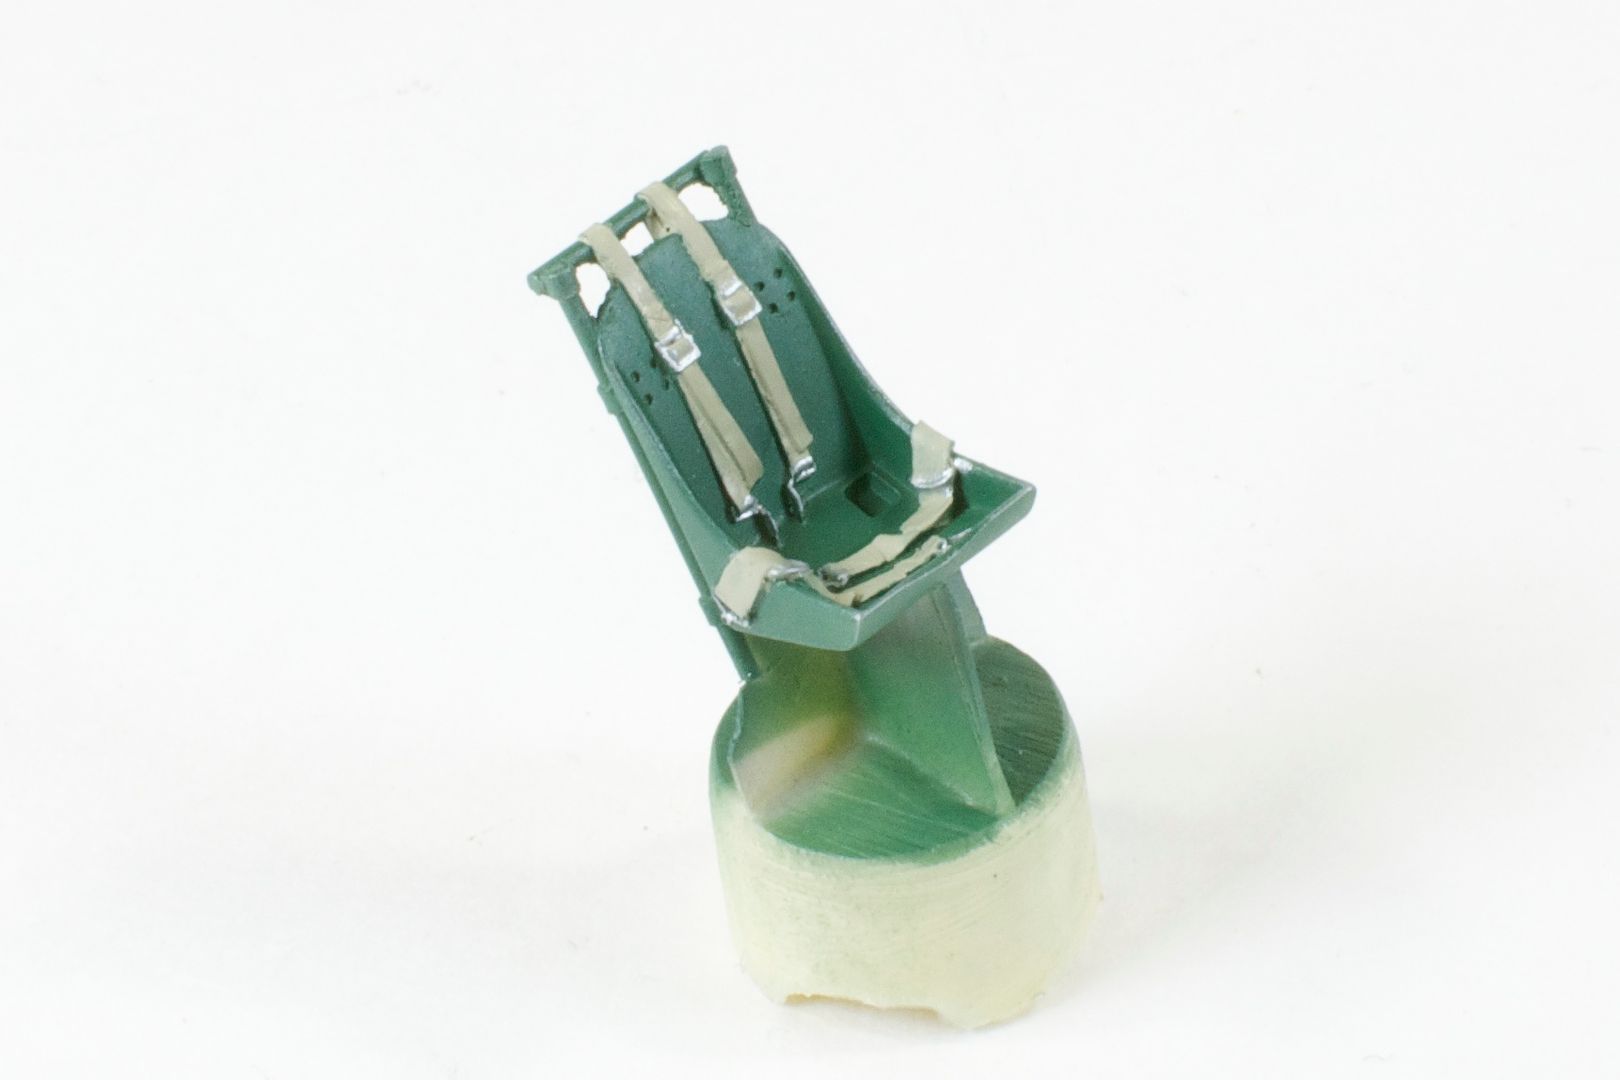
After getting everything primed, I painted the cockpit with Model Master Euro I Dark Green. P-47s didn’t wear interior green, but a color called Dark Dull Green. While I have White Ensign’s rendition of the color, I’m not happy with 1) White Ensign’s handling characteristics or 2) the particular shade they went with. The color photos I’ve seen show a bluer, more saturated color than the basically just-dark-green color White Ensign provides. I went on a search and found that Euro I Dark Green seems a pretty decent match for my reference photos.
Once the green dried, it was drybrushed and the Eduard placards applied. The seat harness was painted Vallejo Stone Grey, and the instrument panel was glossed, decaled, flat-coated, and finally the gauges were dotted with Future to simulate glass.

Once everything started coming together, I decided to test fit the cockpit into the fuselage. Good thing, too, since this led me to the realization that the P-47 lacks the usual instrument panel hood (think of it as the “dash”).
Since the rear of the panel will be visible through the windscreen, I decided to add some wiring. First, I drilled out some of the nodules on the back of the panel, then I cut some styrene tubing into thin discs and welded two of these in place.
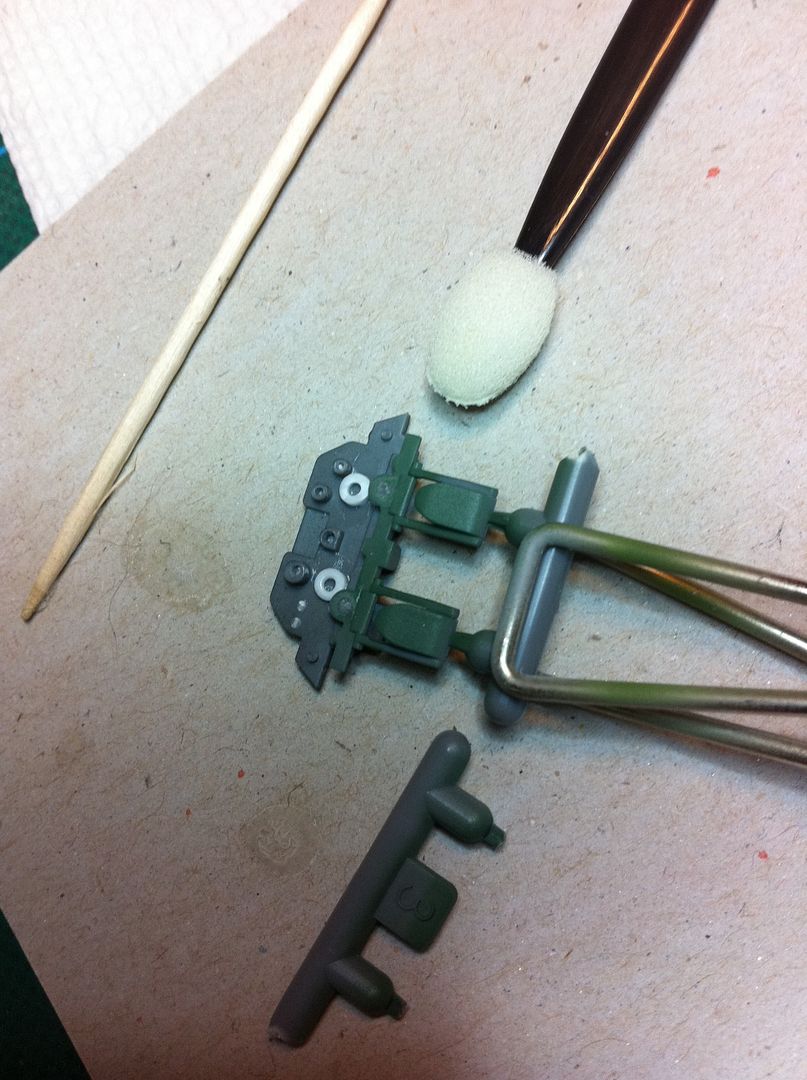
Using the drill outs and styrene discs as “holding tanks” for CA, I fed in several lengths of “smoke” colored monofilament that I found at Hobby Lobby. The stuff is half the diameter of the fishing line I’ve been using for antennas, and yeah, it’s just been pressganged into that role as well.

All the wiring was routed through holes drilled in the firewall, then sort of pushed back in and arranged haphazardly. After that, I attached the gunsight, scratched the handle for the throttle lever out of some leftover plastic from the set-aside Monogram kit, and laid down a wash of raw umber artist oil to finish off the cockpit.
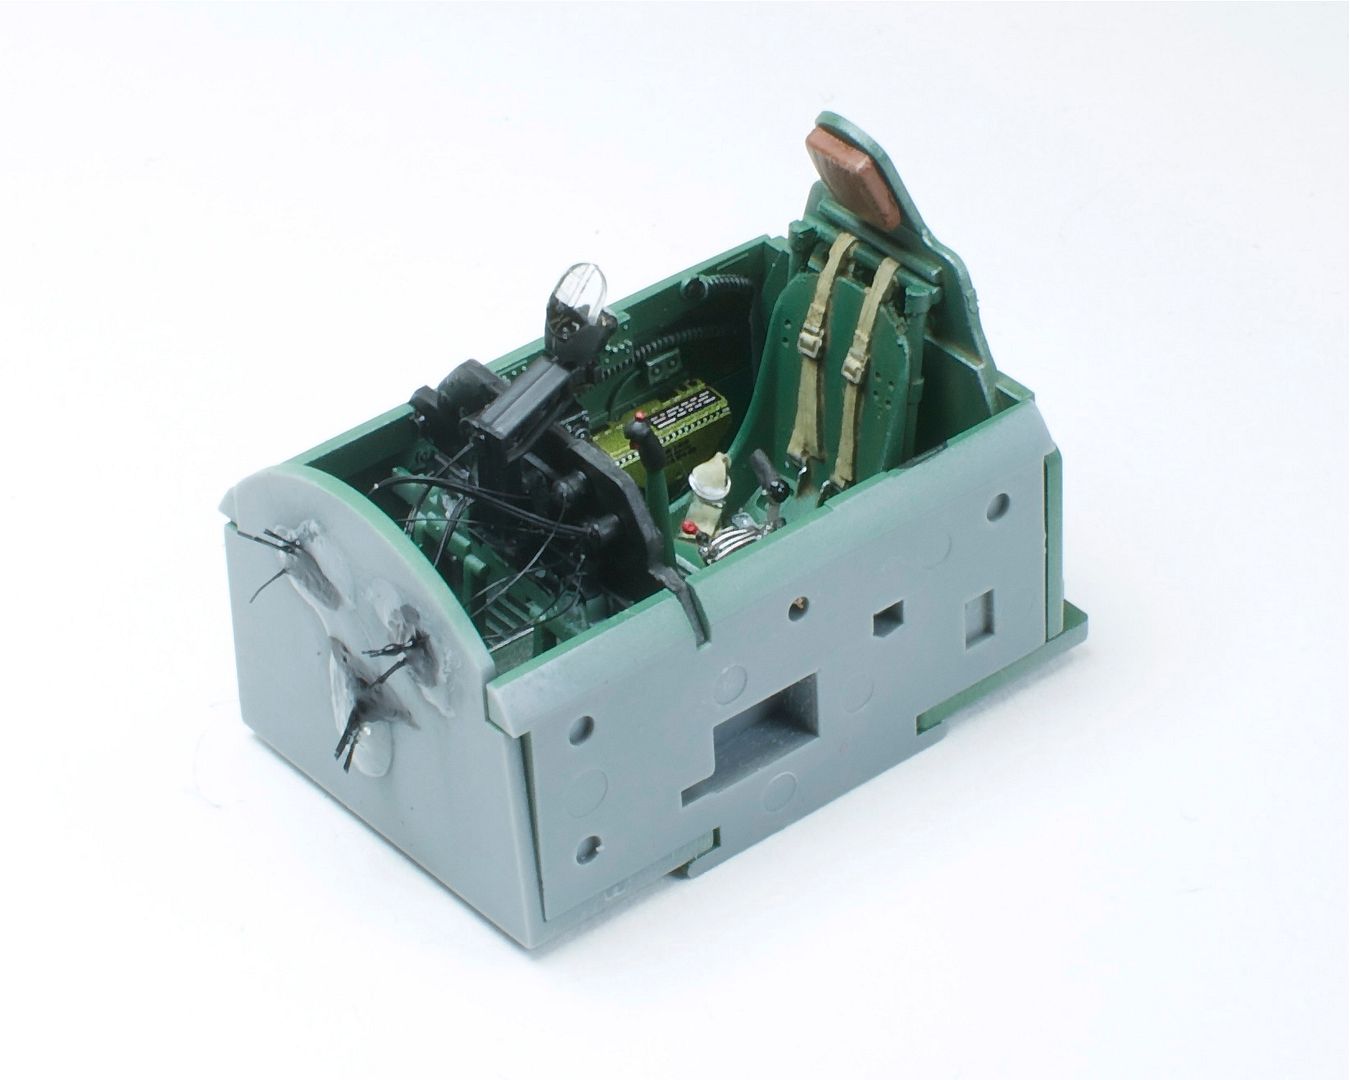
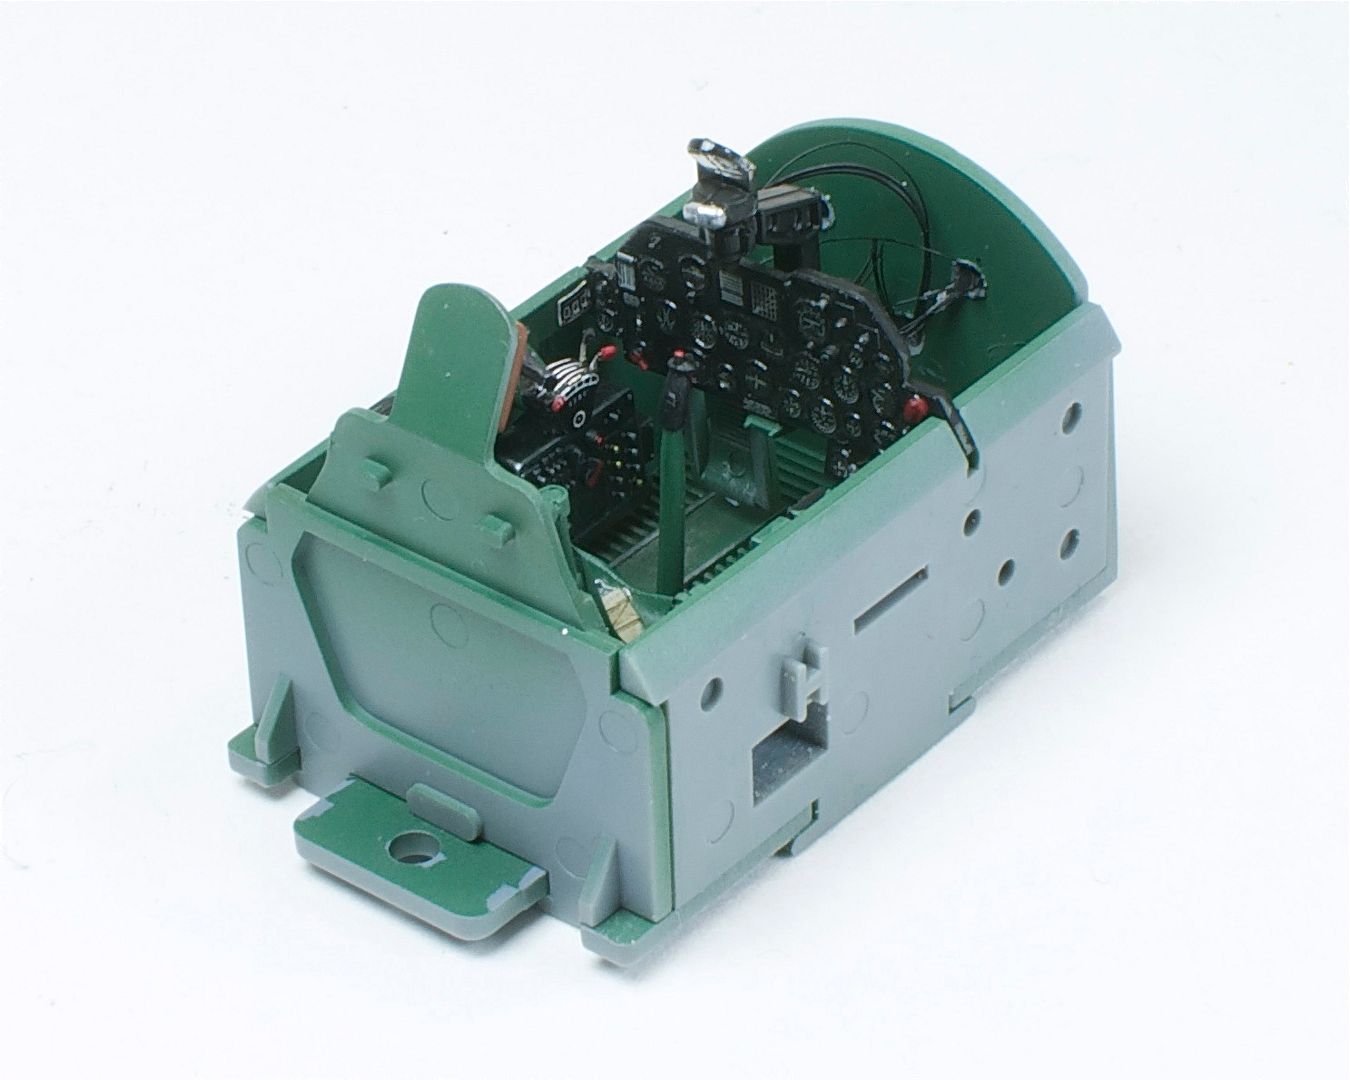
Up next – main assembly.

Pingback: Tamiya P-47D Build Report 2: Main Assembly « Doogs' Models
A fantastic blog Doogs – your build reports on the P-51B and this P-47D inspired me to go out and get both kits for a bash at them myself. Are you going to give this Jug a NMF?
Thanks Aaron – glad you’re enjoying! I’ve got a lot of fun builds coming up, too, so be sure to check back from time to time!
This isn’t getting the NMF treatment. Well, not all of it. Just the underside of one wing. http://doogsmodels.com/2011/01/01/tamiya-p-47d-build-report-3-painting/
Pingback: P-47 Razorback Double-Build, Pt. 1 – Cockpits and Engines « Doogs' Models
Pingback: 1/32 Trumpeter P-47D “French Jug”, Part I – Cockpit « Doogs' Models
Hey! Awesome build! Your inspiring me to get into building. Quick note, the “dash” can be called a glare shield.