Sprue Cutters Union #14 – “The Worst”
The Combat Workshop recently kicked off an interesting idea called "The Sprue Cutters Union". Basically, the idea is akin to a group build, only with blog posts instead of builds.…

The Combat Workshop recently kicked off an interesting idea called "The Sprue Cutters Union". Basically, the idea is akin to a group build, only with blog posts instead of builds.…

Part I | Part II| Part III
In Part I, the Frank got built up. In Part II, it got painted.
Now, it’s time to move into weathering and wrap-up.
I knew way back when I cracked the box that I wanted to subject this build to salt weathering. This is a process whereby you douse the kit in warm water (with some soap to break surface tension), cover it with salt from a salt grinder, blow it dry with a hairdryer, then go over with a very, very thin coat. The way I learned it and the way I go about it is two coats – the first a lighter grayish/tan. Then, with salt removed and reapplied, a darker, grimy color. (more…)
The Combat Workshop recently kicked off an interesting idea called "The Sprue Cutters Union". Basically, the idea is akin to a group build, only with blog posts instead of builds.…

Part I | Part II| Part III | Part IV
In Part I, the Frank got built up.
Now, it’s time for paint.
From a process perspective, the Ki-84’s scheme is a rather complex one. You have the yellow leading and trailing edges on the wings. The fat red hinomarus surrounded by the white Home Defense squares…all chipping away to reveal bare metal beneath. Just getting my head around how to approach this paint scheme probably took more effort than the actual painting!
I decided early on that I wanted the chipping to be actual chipping, not some faux chipping added after the fact. So I started by priming the Ki-84 in Tamiya AS-12 Bare Metal Silver, overcoated with Alclad metalizers.
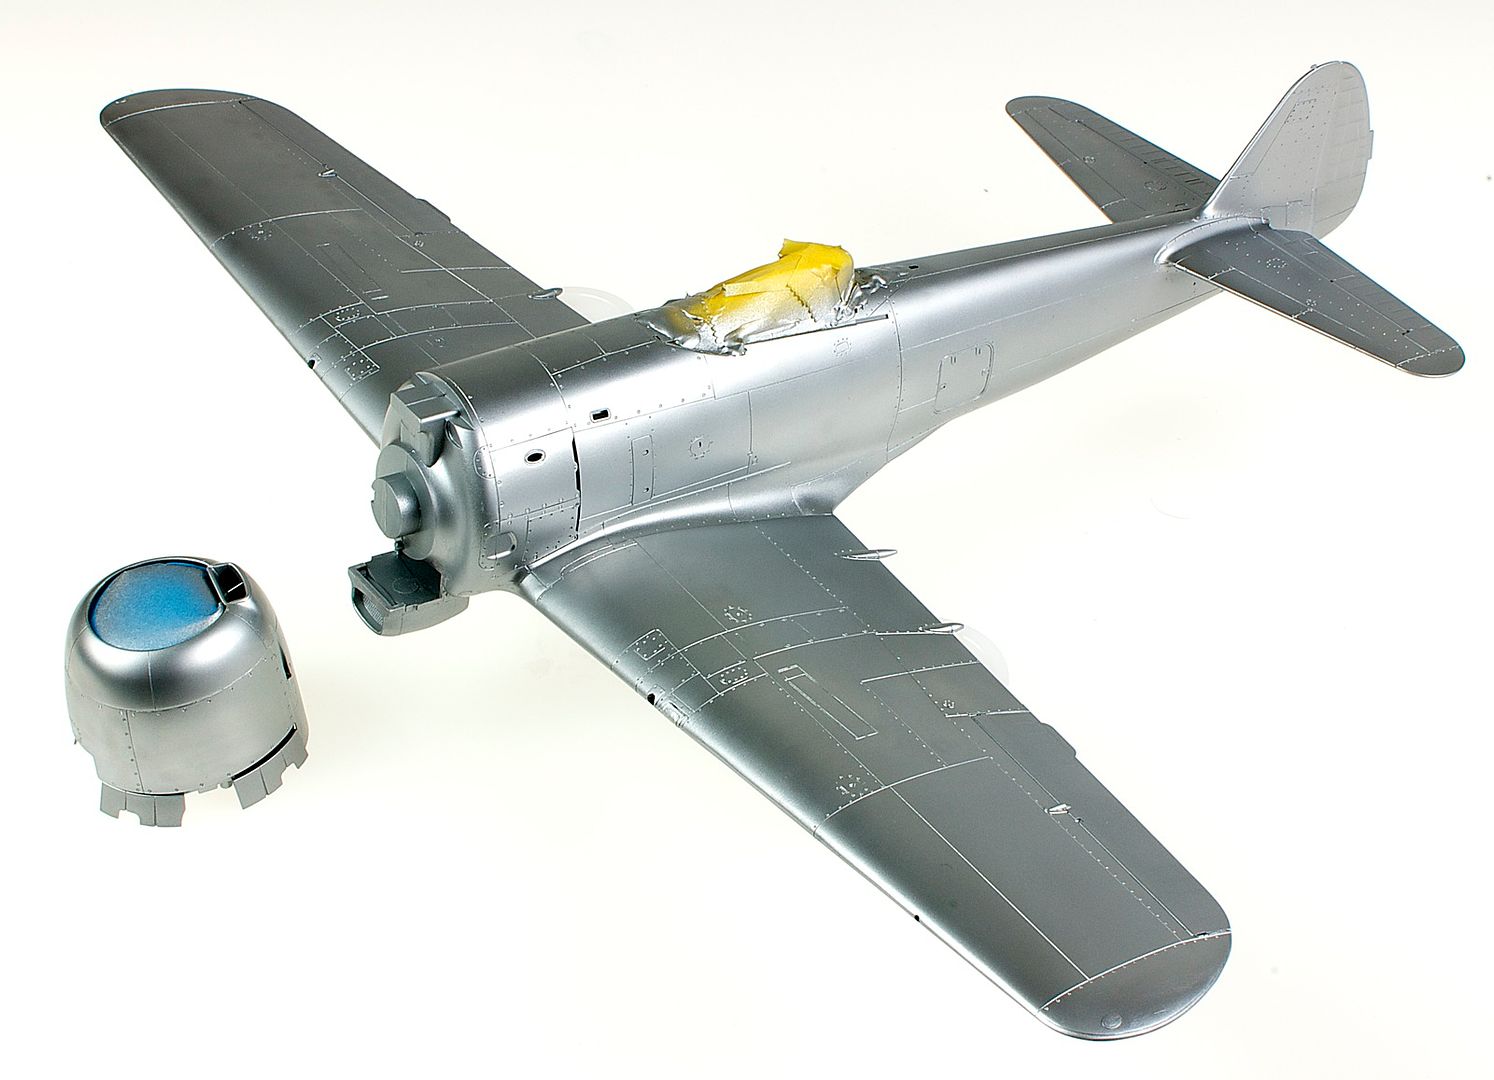
Laying down a bit of liquid frisket as a chipping mask, I next sprayed down Gunze C69 Offwhite for the Home Defense bandages and as a base for the yellow leading edge bands. C58 Orange Yellow went down over the white.
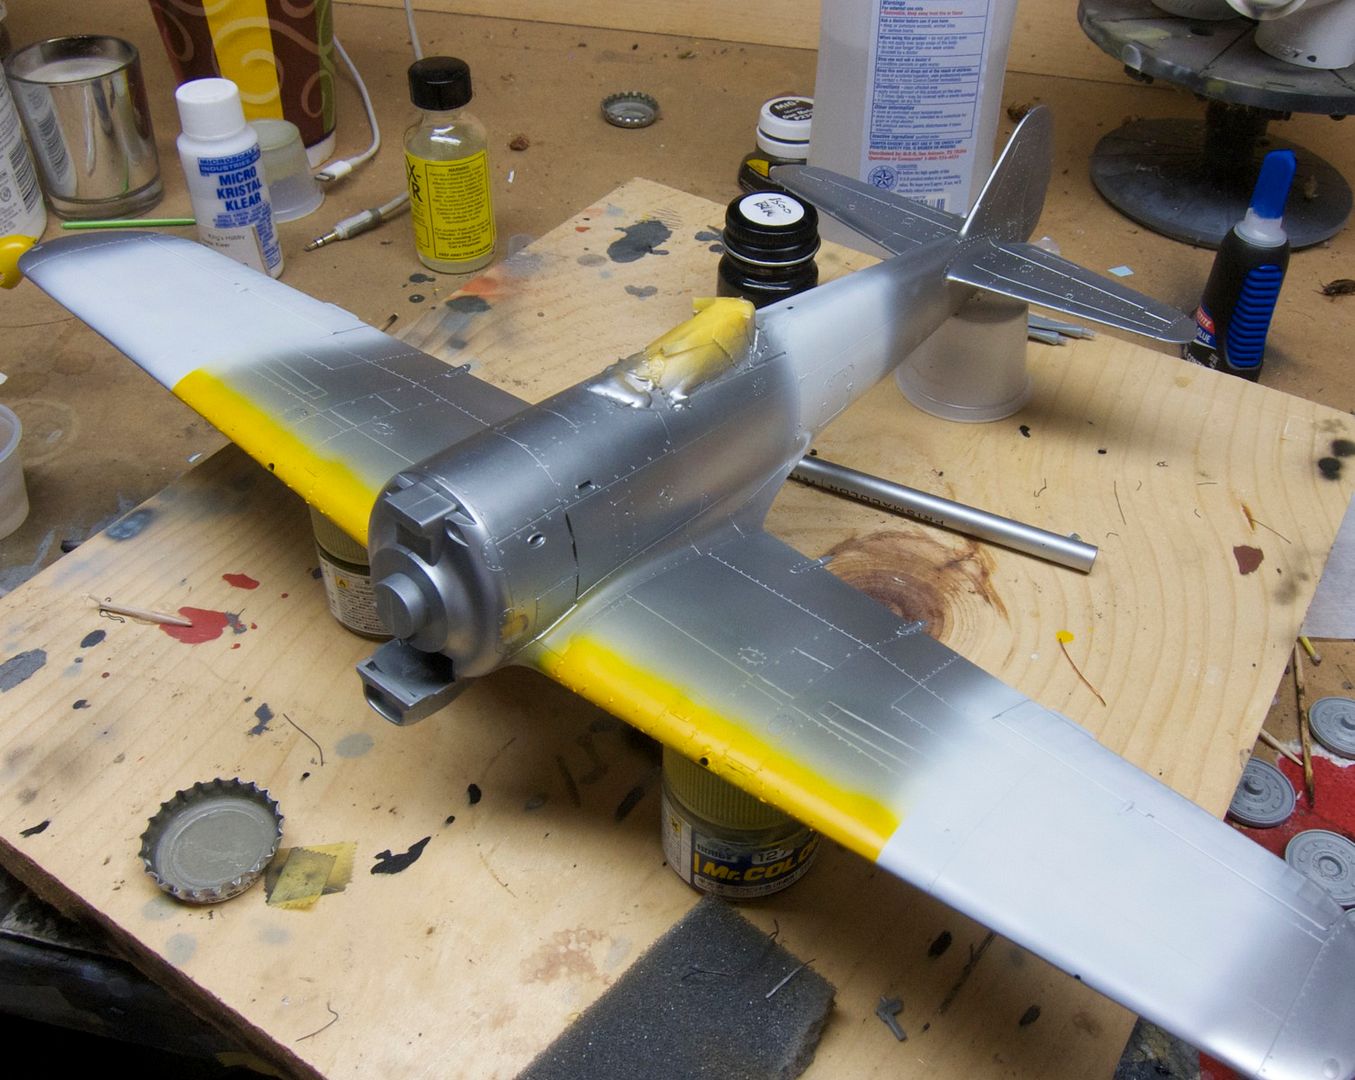
Next, the hinomarus were masked using Montex masks and sprayed first with C58 Orange Yellow, then with a 50/50 mix of C3 Red and C108 Character Red. (more…)